The 411 On Freehand Ink
Everything you need to know about Freehand Ink, including tips, tricks, and a TON of inspo from our community.
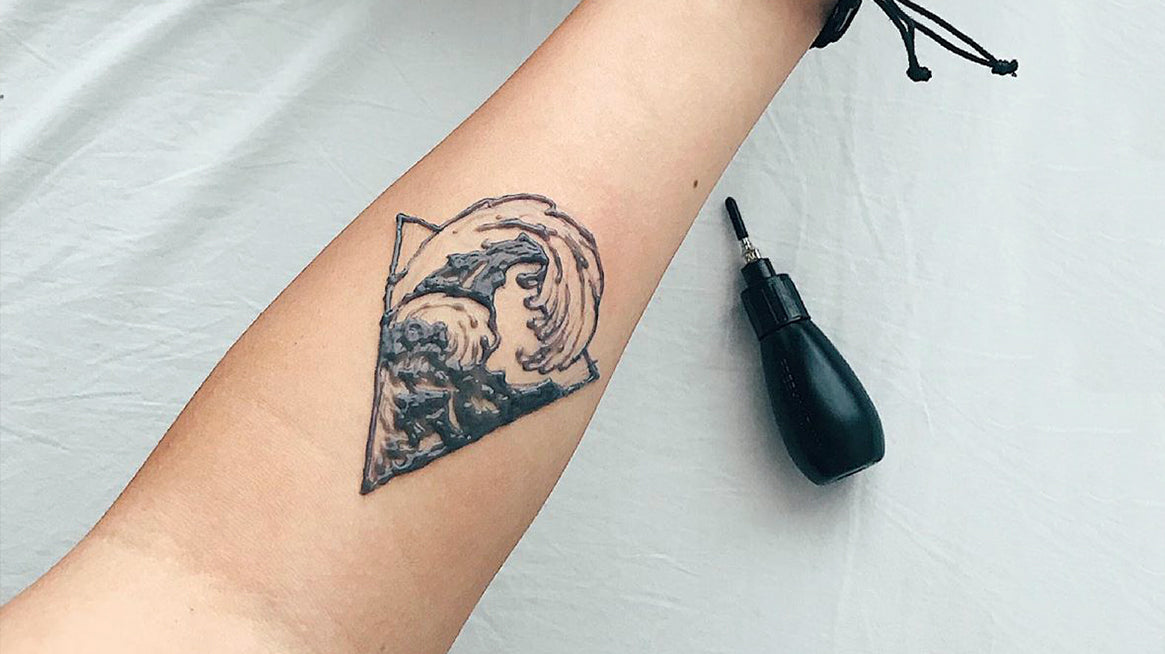
Image via Instagram @inkspacelive
There’s not much you CAN’T create with a fresh bottle of Freehand Ink. Just one bottle holds endless possibilities for creativity and artistic expression. We’re walking you through the 411 on Freehand Ink, tips and tricks from our community, and a ton of inspo.
How To Apply
It’s simple: using Freehand Ink, draw a design onto clean, dry skin, let it sit for 1 hour, then wash away with warm water and soap. Your work of art will develop over 24-36 hours and last for 1-2 weeks.
Whether you’re new to the world of Freehand Ink, or simply need a lil refresher, check out this video for what you need to know to apply.
Tips & Tricks
We love learning new hacks from our talented community AKA all of you. Here’s what some artists had to say:
Before You Begin
"Before starting, I always like to push the ink towards the tip of the bottle and squeeze some of the ink out to make sure that it isn’t getting stuck in the tip. I always have a wipe with me because sometimes, during the application, the ink will build up on the outside of the tip and will smudge the design if it’s not wiped off.
The best advice I can give for Freehand Ink is to remember there are no mistakes in art, only happy accidents that all come together to create something beautiful." Bethany
For Clean Lines
"Drape longer lines in order to keep them straight and clean. Apply pressure to the tip of the bottle and once you have ink coming out, slightly lift the bottle and pull it in the direction you'd like your line to go. By tracing just slightly over the skin, the ink will apply evenly and straight. This is especially helpful for longer lines." Jasmin
Switch It Up For Softness
"A trick I often find myself using is smudging my lines with a dampened paintbrush to achieve different values. I also use this technique to pull in edges of my flowers if i want to create a softer effect with less harsh lines. Varying your values helps with hierarchy in your piece so the final look doesn’t feel flat or muddled." Jorgie
Savvy Shading
"Obviously we all stan the shaded look you can get with For Now Ink™. If you’re feeling artsy you can get a similar effect with Freehand Ink! You have two options: you can purchase Shading Ink, or use regular Freehand Ink, but spread the ink much thinner where you want to shade. The thicker the ink, the darker the stain will be underneath.
Sometimes I’ll put a bit of Freehand Ink on a cotton swab to spread a thin layer on the skin, or even use the swab to dab the skin and create texture. There are a million ways to get unique effects with Freehand Ink, so feel free to get creative!" Emily
Consistency Is Key
"Keep your eye on the ink coming out [of the tip] instead of focusing on how hard you squeeze. Sometimes a little pressure can go a long way while other times you might have to squeeze more than usual to get an average-weighted line. Monitoring the outflow of ink is sometimes under-prioritized but is actually essential in creating designs with uniform and consistent lines." Melissa
Going Big
"For larger tattoos it's helpful to work your way from the part of the design that's furthest away from your dominant hand. This will assure that when you need to rest your hand, it is sitting on bare skin and not smudging your artwork." Jasmin